
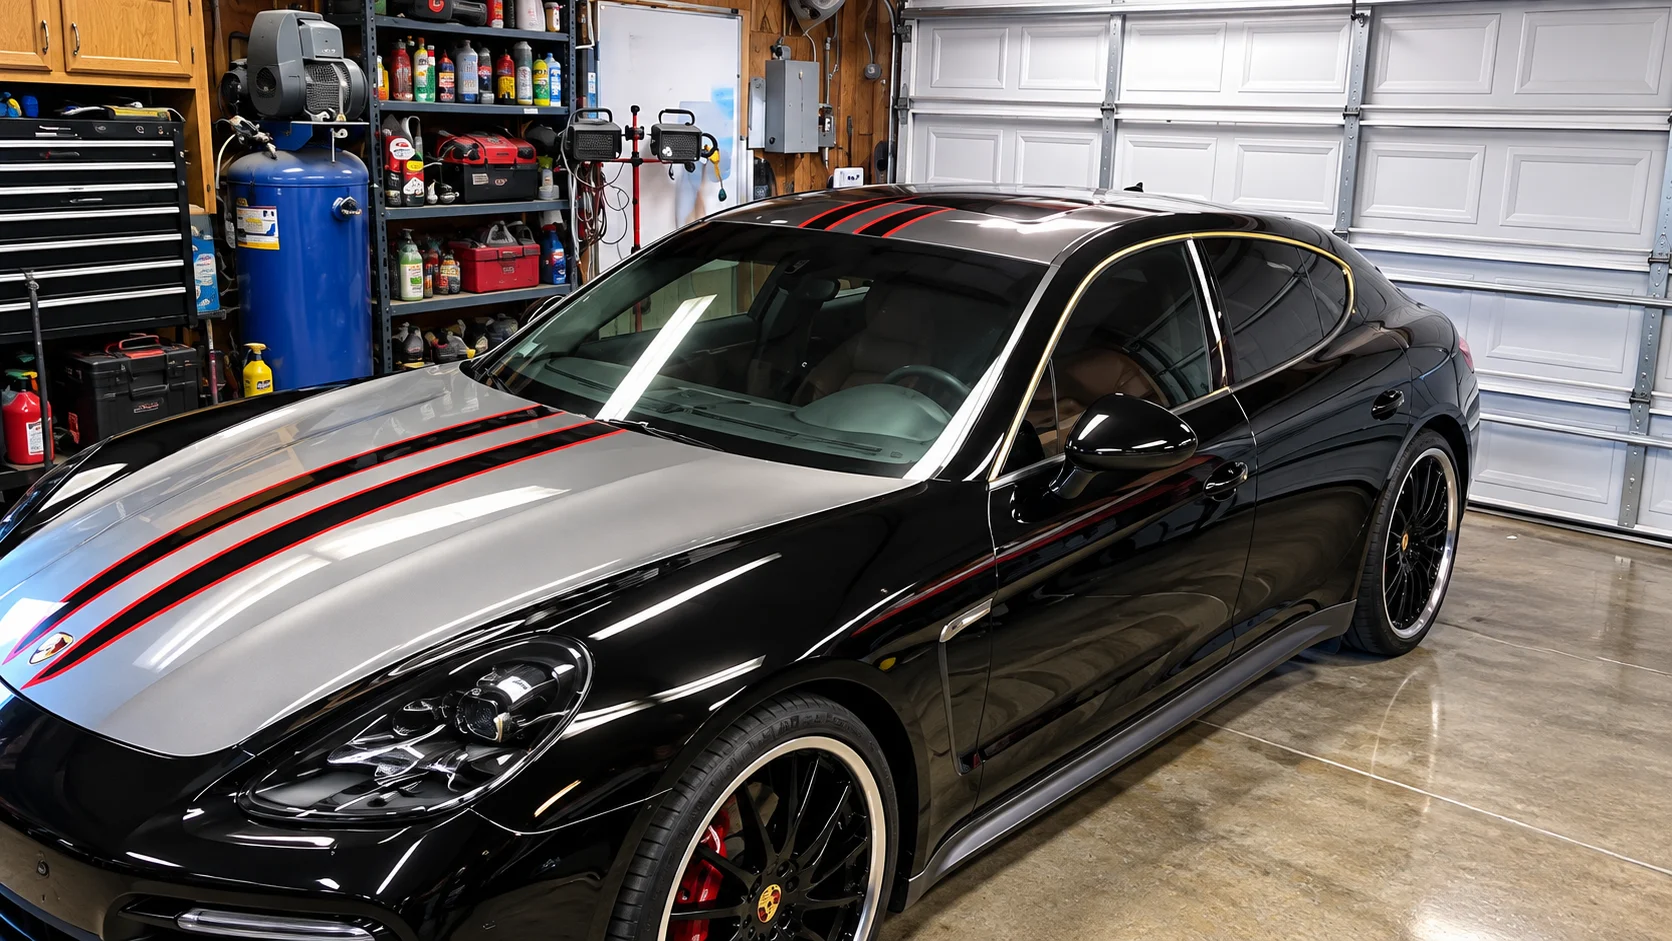
Single-stage combines color and finish in one system; basecoat / clearcoat separates the color layer from a protective clear finish. Neither is automatically right for every project.
The basic distinction
Single-stage paint combines color and the visible finish in one coating system. Basecoat/clearcoat separates the color layer from a clear finish applied over it. That difference affects appearance, repair planning, product compatibility, application sequence and how a project is evaluated. Neither system is automatically better for every vehicle or use.
Choose by considering the vehicle, color, desired appearance, repair strategy, existing finish, use and complete system—not by treating the labels as a shortcut. A solid color on a small part, a metallic collision repair and a restoration project may each lead to different questions. The selected manufacturer’s current documentation controls exact mixing, application, recoat, cure and safety details.
How single-stage fits a project
Because color and finish are carried together, single-stage can be a straightforward direction for some vehicles, parts and restoration goals. It may suit a project where the intended appearance and system are understood and where the surrounding finish will be considered carefully. The final result still depends on preparation, film, application, color type, lighting and cure.
A single-stage finish is not one universal product behavior. Some colors, sheens and use conditions require a particular system or additional protection, while others may not be compatible with an assumed clear. Ask what the product is designed to do, how repairs are handled and whether the selected system is appropriate for the substrate. Do not add a separate clear unless the documentation calls for it.
How basecoat/clearcoat fits a project
Basecoat/clearcoat places color in one stage and the final clear finish in another. This separation can support modern color work, effect colors and a distinct finish layer, but it also adds timing and compatibility decisions. The basecoat must be in the condition and recoat window required by the selected clear, and the complete system must be planned before spraying.
Metallic, pearl and tri-coat colors often make application consistency especially important. Ground coat, pass orientation, film, overlap and lighting can influence the color before clear is applied. Clear changes gloss and depth perception, so evaluate a test sample through the appropriate stages when the color or repair is sensitive. Exact product instructions remain more important than a generic sequence.
Appearance and repair decisions
The existing vehicle may not be uniform. Fading, oxidation, previous repairs and changes in sheen can make a new color appear wrong even when the formula is correct. A repair may need a blend or adjacent-panel plan, and the decision depends on color type, panel shape, surrounding finish and the desired result. Neither system removes the need for physical comparison.
A spray-out card or prepared test panel can show coverage, color orientation, sheen and the relationship between color and final finish. Compare it in useful light and from relevant viewing directions. Screen images and color names are poor substitutes for a physical test. Record the system and formula so future touch-up or repair decisions have evidence to follow.
Preparation and compatibility still lead
Both directions require a sound substrate. Remove contamination, address rust or damaged coating, refine repairs and inspect the surface before color. Primer, surfacer or sealer selection depends on the substrate and topcoat; a new color cannot reliably hide peeling, moisture, unknown layers or poor preparation.
Keep all components within the selected manufacturer’s system. Reducers, hardeners, activators, primers and clears are not interchangeable merely because their labels sound similar. Follow current technical data and safety information for mix, application, flash, recoat, film, cure and ventilation. If the existing coating or product history is unknown, test and seek qualified guidance before committing.
Choosing a direction and preparing questions
Bring the vehicle information, paint code or sample, photos of the repair, the desired finish and the scope of panels or parts. Explain whether the goal is factory-like repair, complete repaint, restoration, custom color or a durable working finish. Ask how the system will be evaluated, whether blending is expected and what test panel would be useful.
D&S can help organize the conversation around the actual project, but final selection must remain tied to the current product documentation. Compare systems by their intended use and complete requirements, not by a single coat count or a promise of easier results. The right choice is the one that fits the substrate, appearance, process, equipment, safety plan and future repair needs.
A decision that can change later
The choice between systems should be made before the project is underway, but it is reasonable to revisit it when inspection reveals a different substrate, old coating or color goal. Do not force a basecoat/clearcoat plan onto a product intended for another use, or add clear to a single-stage finish without verified instructions. A system change can affect preparation, quantity, equipment and timing.
Keep a record of the chosen direction, color information, product labels and test results. That record helps with future touch-ups and explains why a repair may look different from an untouched panel. When the project crosses from automotive into industrial or architectural work, reassess the substrate and exposure rather than assuming an automotive system transfers automatically.
A practical sequence
- 01
Define the project before selecting a product. Describe whether this is a repair, full repaint, restoration, exterior maintenance job or industrial item, and identify what area is actually included.
- 02
Inspect the existing surface in useful light. Record substrate, coating condition, contamination, repairs, moisture, corrosion, texture and any unknown layers. Photos are helpful, but a physical sample can answer questions a screen cannot.
- 03
Choose the system as a group. Preparation, primer or sealer, color or topcoat, clear where applicable, reducer or activator and application equipment must be compatible. Current manufacturer technical information controls exact mix, recoat, cure and safety details.
- 04
Test the plan before committing when color, effect, adhesion or finish is sensitive. A small prepared area or spray-out can reveal coverage, orientation, sheen and transitions while changes are still manageable.
- 05
Document what worked. Keep labels, color information, batch or formula notes, application observations and the conditions. A future repair is easier when the next person has evidence instead of a guess.
Common mistakes
- Buying a color before checking the substrate and existing coating.
- Treating a code, color name or internet photo as proof of a final visual match.
- Assuming one primer, reducer, nozzle or coat count fits every product.
- Applying over peeling, contaminated, damp or unknown material.
- Rushing the final inspection because the surface looks dry.
Professional considerations
Basecoat / clearcoat can offer a distinct way to manage color and final gloss, while single-stage may fit a different appearance or project direction. Mixing components across systems without documented compatibility is risky. Confirm recoat windows, reduction and cure requirements from current technical data.
Professionals also protect the next decision. They keep labels and project notes, test a small area when the result is sensitive, and stop when the substrate or material is not understood. If the work involves hazardous coatings, poor ventilation, unknown contamination or a condition outside the product data, get qualified help rather than improvising.
What to bring to D&S
- Desired appearance and use of the vehicle
- Color type, including metallic or pearl clues
- Existing coating information
- Repair or full-repaint scope
- Available spray equipment and work area
Pueblo / Southern Colorado consideration
Temperature, wind and dust affect application whichever system is selected. Avoid choosing around a calendar shortcut; use the system’s environmental guidance and a controlled test area.
Local context is useful, but it does not override the selected product’s technical data or safety information. Conditions should be observed on the actual day and surface, especially when wind, dust, sun, temperature or low humidity can change the work.
Frequently asked questions
Can I use this guide as a product specification?
No. It is a planning guide. The current technical data and safety information for the exact product and use control the work.
What if I do not know what is already on the surface?
Say that clearly. Unknown layers are important information; a small test and an in-person evaluation are safer than assuming compatibility.
Does weather change the plan?
Yes. Temperature, wind, dust, humidity and surface condition can change application and cure. Use the selected system’s limits and ask D&S when conditions are uncertain.
Published by D&S Paint Center, Inc. · © 2026 D&S Paint Center. All rights reserved.
Bring the project to D&S.
Bring the photos, product labels, dimensions or physical sample relevant to this question. The Pueblo counter can help discuss a practical next step.