
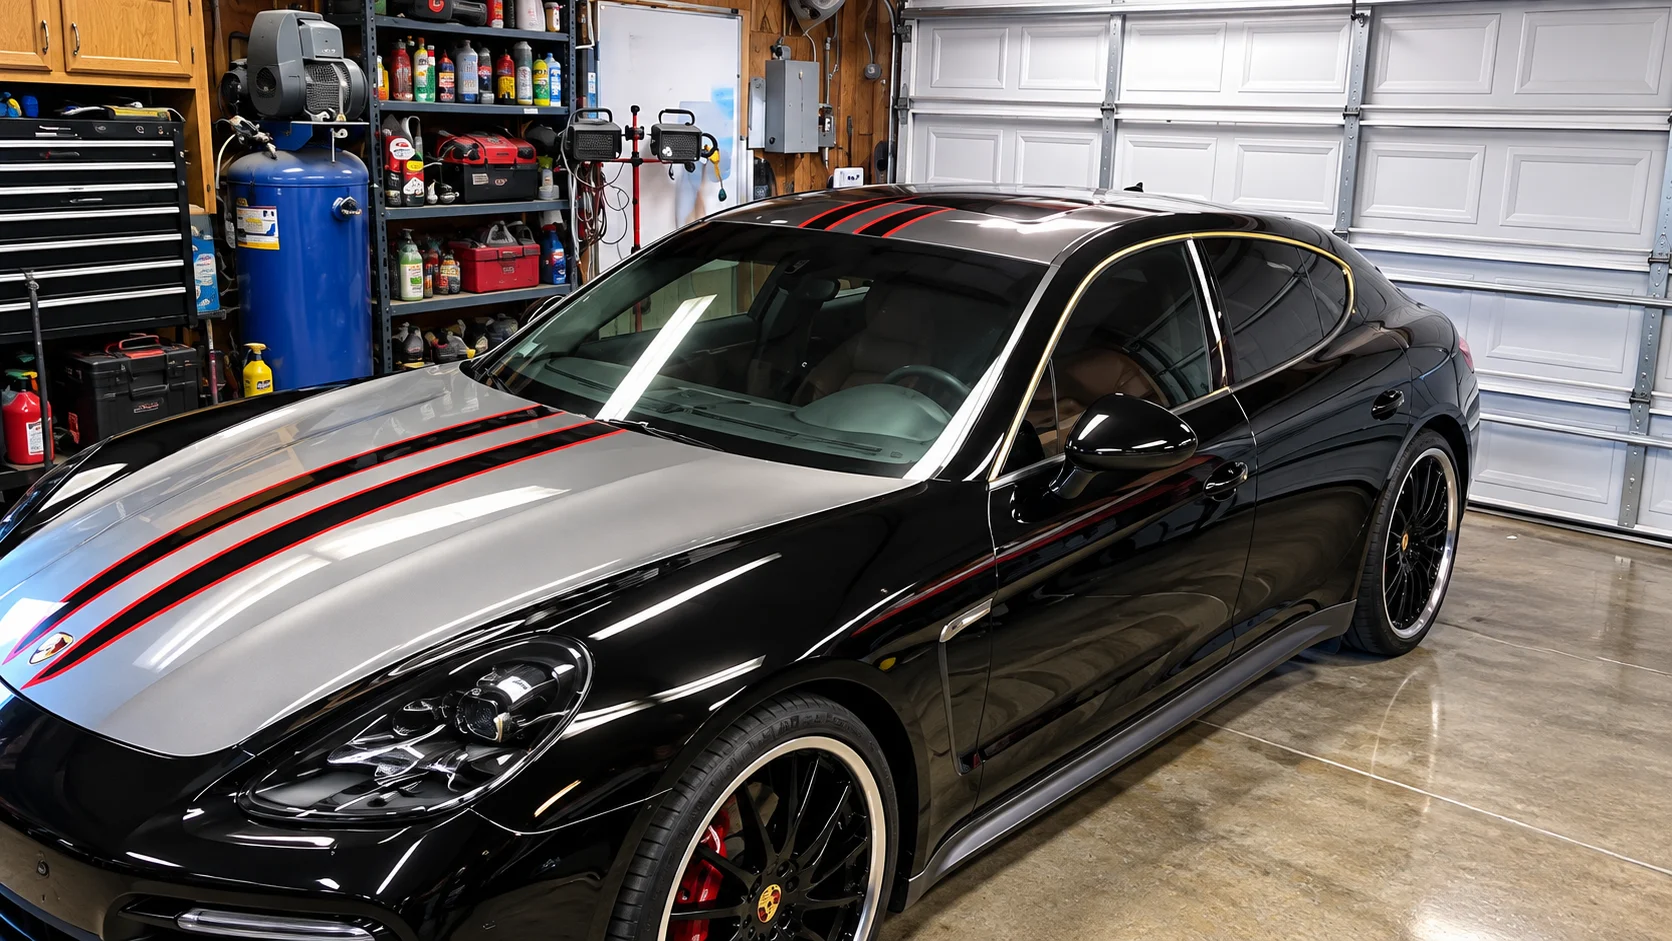
Good automotive paint starts with a sound, clean, properly profiled surface. Inspect the existing coating, remove contamination, repair damage, build the correct primer or sealer stage, mask carefully and inspect before color.
Preparation determines what the finish can show
Preparing a vehicle for paint is a sequence of inspection, cleaning, repair, profiling, priming, masking and final review. It is not simply sanding until a panel feels smooth. New color follows the shape and condition beneath it, so gloss, waves, sanding scratches, edges, contamination and unstable old coatings can all reappear. The desired scope matters too: a single panel repair, a blend, an exterior repaint and a color change require different boundaries and planning.
Before buying material, photograph the vehicle and note the existing finish, repair history, paint code, corrosion, peeling clear and areas included. Exact abrasives, cleaners, primers, reducers, mix ratios, recoat windows, PPE and application conditions must follow the current selected manufacturer documentation.
Inspect before removing anything
Look at the vehicle in useful, changing light. Identify dents, previous filler, cracking, peeling, rust, bubbling, stone damage, edge mapping and places where an earlier repair meets original finish. A coating that looks acceptable at a distance may be poorly bonded or thick at an edge. Check adjacent panels when a match or blend is planned; the surrounding finish is evidence, not merely background.
Decide whether the old coating is sound enough to remain. Unknown layers, widespread failure or serious corrosion may require a broader repair than originally expected. Mark the limits of the project and document trim, gaps, jambs and access. This prevents a quantity estimate or color decision from being based on a scope that quietly expands halfway through the job.
Clean and degrease with a purpose
Cleaning has several stages because different contamination behaves differently. Road film, wax, silicone, polish, oil, dust and sanding residue can interfere with adhesion or create fisheyes. Use a compatible cleaning approach and clean before disturbing the surface as well as after sanding. Change wipes or cloths as needed; spreading residue across a panel is not the same as removing it.
Do not assume a household cleaner, solvent or compressed-air source is harmless to the selected system. Product labels and technical data should identify suitable cleaning materials and handling. Control nearby aerosols, detailing products and lubricants. In a dry or windy work area, protect cleaned panels from dust and recheck them immediately before masking or coating.
Profile the old finish and repair the damage
Sanding is meant to create an appropriate, even surface while removing gloss, failed material and defects that the next layer cannot bridge. Use an abrasive sequence appropriate to the existing coating and repair stage; the exact grade and method belong to the selected system. Feather edges rather than leaving a hard ridge, but do not thin a surrounding panel unnecessarily. Keep the repair area honest by inspecting it in more than one direction of light.
Repair dents, corrosion and filler transitions before final primer. Filler should be shaped and refined according to its own instructions, and pinholes or low spots should be corrected rather than buried under color. Bare metal, cured filler, old paint and plastic may need different preparation. If sanding reveals a layer that is soft, lifting or unknown, stop and reassess the system.
Primer, sealer and final inspection
Choose primer for the substrate and its role, not because a product is familiar. A surfacer may refine a repaired area; another category may be selected for adhesion, isolation or corrosion control. A sealer may help uniformity in a compatible system. Allow each layer to become suitable for the next step according to current manufacturer instructions, then inspect for texture, scratches, pinholes, edges and uneven absorption.
Before color, clean the work area, control dust, finish masking and verify that the surface is dry, sound and correctly prepared. Check jambs, edges, adjacent panels, wheel openings and overspray boundaries. A spray-out or test area is especially useful when color, metallic orientation or a blend is sensitive. Do not let a deadline replace the final inspection.
Keep a record for the next repair
Write down the products used, the substrate condition, the repair boundaries, the color information and the conditions observed during the work. Save labels and technical sheets with the vehicle records. This does not make a future repair automatic, but it gives the next decision useful evidence instead of a guess. It also makes it easier to explain why a primer, sealer or blend was selected.
Masking, conditions and what to bring
Masking is part of preparation, not an afterthought. Plan whether trim should be removed, protected or worked around, and keep tape edges away from areas that need a controlled blend. Protect glass, wheels, openings and nearby surfaces, and plan ventilation and respiratory protection for the actual coating. Exact safety requirements belong to the product documentation and the work environment.
Bring vehicle photos, paint-code information, product labels, repair history, dimensions and a clear statement of whether the goal is touch-up, blend, panel repair or full repaint. Pueblo’s wind, dust, low humidity, sunlight and temperature swings can make final cleaning and timing more demanding. Observe the actual surface and conditions, then follow the selected manufacturer’s technical and safety data rather than a generic internet schedule.
A practical sequence
- 01
Define the project before selecting a product. Describe whether this is a repair, full repaint, restoration, exterior maintenance job or industrial item, and identify what area is actually included.
- 02
Inspect the existing surface in useful light. Record substrate, coating condition, contamination, repairs, moisture, corrosion, texture and any unknown layers. Photos are helpful, but a physical sample can answer questions a screen cannot.
- 03
Choose the system as a group. Preparation, primer or sealer, color or topcoat, clear where applicable, reducer or activator and application equipment must be compatible. Current manufacturer technical information controls exact mix, recoat, cure and safety details.
- 04
Test the plan before committing when color, effect, adhesion or finish is sensitive. A small prepared area or spray-out can reveal coverage, orientation, sheen and transitions while changes are still manageable.
- 05
Document what worked. Keep labels, color information, batch or formula notes, application observations and the conditions. A future repair is easier when the next person has evidence instead of a guess.
Common mistakes
- Buying a color before checking the substrate and existing coating.
- Treating a code, color name or internet photo as proof of a final visual match.
- Assuming one primer, reducer, nozzle or coat count fits every product.
- Applying over peeling, contaminated, damp or unknown material.
- Rushing the final inspection because the surface looks dry.
Professional considerations
A professional looks for unknown layers, previous repairs, edge mapping, corrosion, moisture, silicone or polish contamination and transitions that will telegraph through color. The final surface should be evaluated under useful light before the spray process begins.
Professionals also protect the next decision. They keep labels and project notes, test a small area when the result is sensitive, and stop when the substrate or material is not understood. If the work involves hazardous coatings, poor ventilation, unknown contamination or a condition outside the product data, get qualified help rather than improvising.
What to bring to D&S
- Vehicle photos and repair history
- Existing product labels
- Abrasive and cleaning information
- Scope of jambs, edges and adjacent panels
- Color sample or code
Pueblo / Southern Colorado consideration
Wind and dust can undo careful final preparation. Plan cleaning and masking around local conditions, and do not rush a surface inspection because the air feels dry.
Local context is useful, but it does not override the selected product’s technical data or safety information. Conditions should be observed on the actual day and surface, especially when wind, dust, sun, temperature or low humidity can change the work.
Frequently asked questions
Can I use this guide as a product specification?
No. It is a planning guide. The current technical data and safety information for the exact product and use control the work.
What if I do not know what is already on the surface?
Say that clearly. Unknown layers are important information; a small test and an in-person evaluation are safer than assuming compatibility.
Does weather change the plan?
Yes. Temperature, wind, dust, humidity and surface condition can change application and cure. Use the selected system’s limits and ask D&S when conditions are uncertain.
Published by D&S Paint Center, Inc. · © 2026 D&S Paint Center. All rights reserved.
Bring the project to D&S.
Bring the photos, product labels, dimensions or physical sample relevant to this question. The Pueblo counter can help discuss a practical next step.